Adding Gradle build support to an IntelliJ Platform Plugin requires a recent distribution to the Gradle build system and IntelliJ IDEA (Community or Ultimate).
1.0. Download and install IntelliJ IDEA
Download and install either IntelliJ IDEA Ultimate or the IntelliJ IDEA Community Edition.
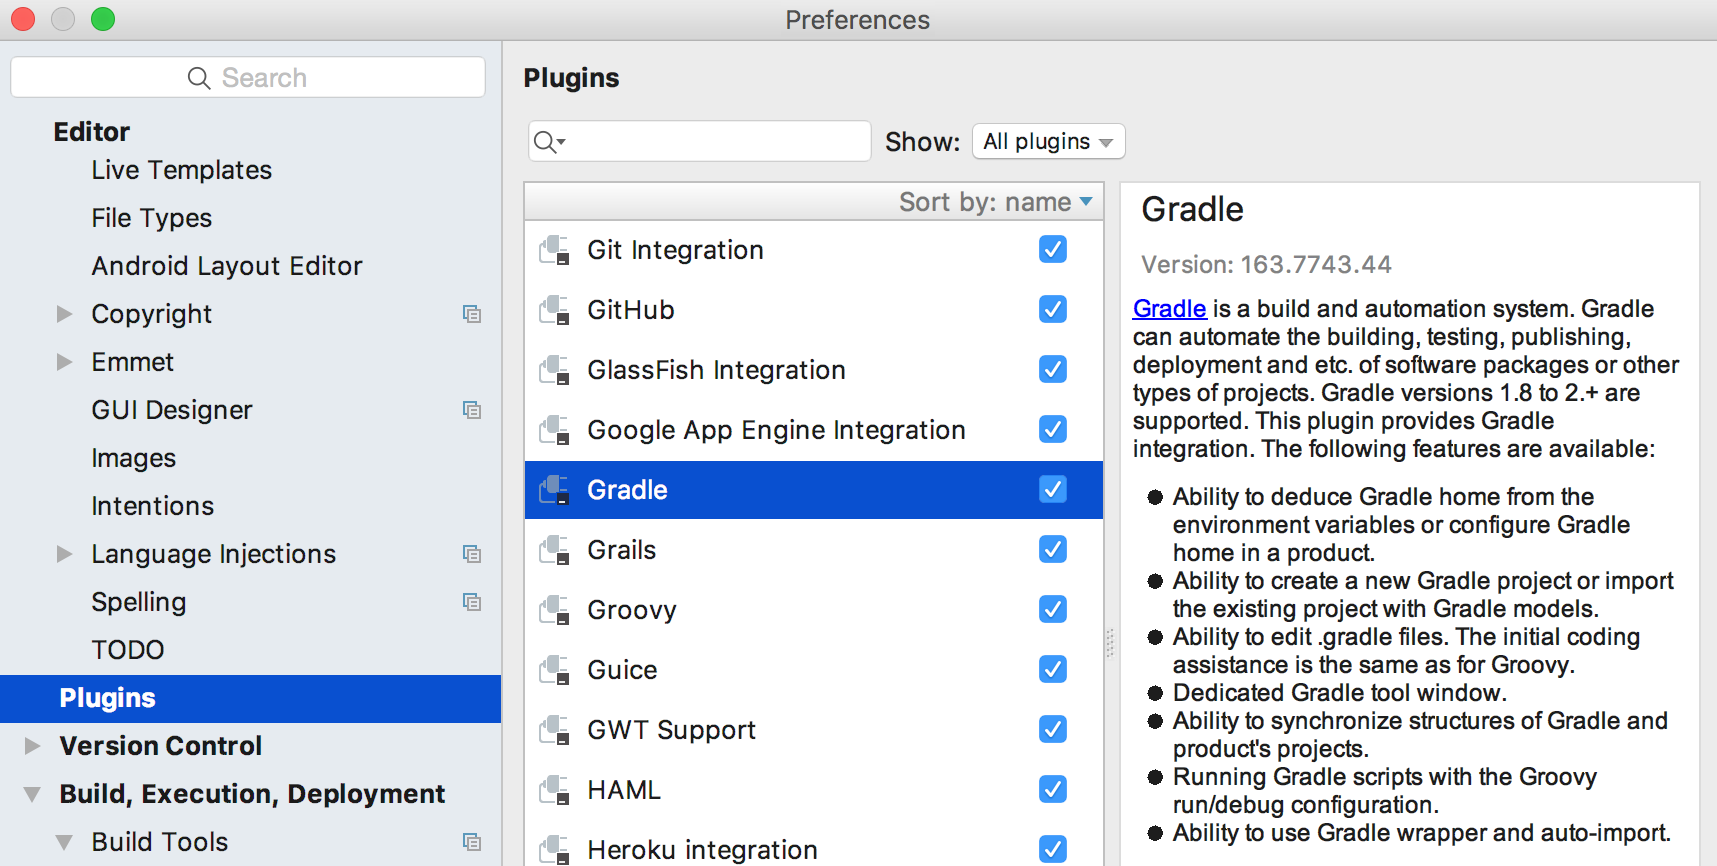
1.1. Ensure the Gradle plugin is enabled
The Gradle plugin is required if you want to add a Gradle Run Configuration to IntelliJ IDEA. You can verify the Gradle plugin is enabled by visiting Settings | Plugins | Gradle.
1.2. Add Gradle support to an existing plugin
There are two ways to add Gradle support to an existing project. Both will require adding a build.gradle file under the root directory, with at least the following contents:
buildscript {
    repositories {
        mavenCentral()
    }
}

plugins {
    id "org.jetbrains.intellij" version "0.1.10"
}

apply plugin: 'idea'
apply plugin: 'org.jetbrains.intellij'
apply plugin: 'java'

intellij {
    version 'IC-2016.3' //IntelliJ IDEA 2016.3 dependency; for a full list of IntelliJ IDEA releases please see https://www.jetbrains.com/intellij-repository/releases
    plugins 'coverage' //Bundled plugin dependencies
    pluginName 'plugin_name_goes_here'
}

group 'org.jetbrains'
version '1.2' // Plugin version
To add Gradle support to an existing project, copy the above Gradle build script into your build.gradle file, and with the Gradle executable on your system PATH, execute the following commands on your system's command line:
gradle cleanIdea
gradle runIdea
This will clean any existing IntelliJ IDEA configuration files and generate a new Gradle build configuration recognized by IntelliJ IDEA. Once your project refreshes, you should be able to view the Gradle tool window displayed under View | Tool Windows | Gradle. This indicates that IntelliJ IDEA recognizes the Gradle facet.
1.3. Add Gradle support from scratch
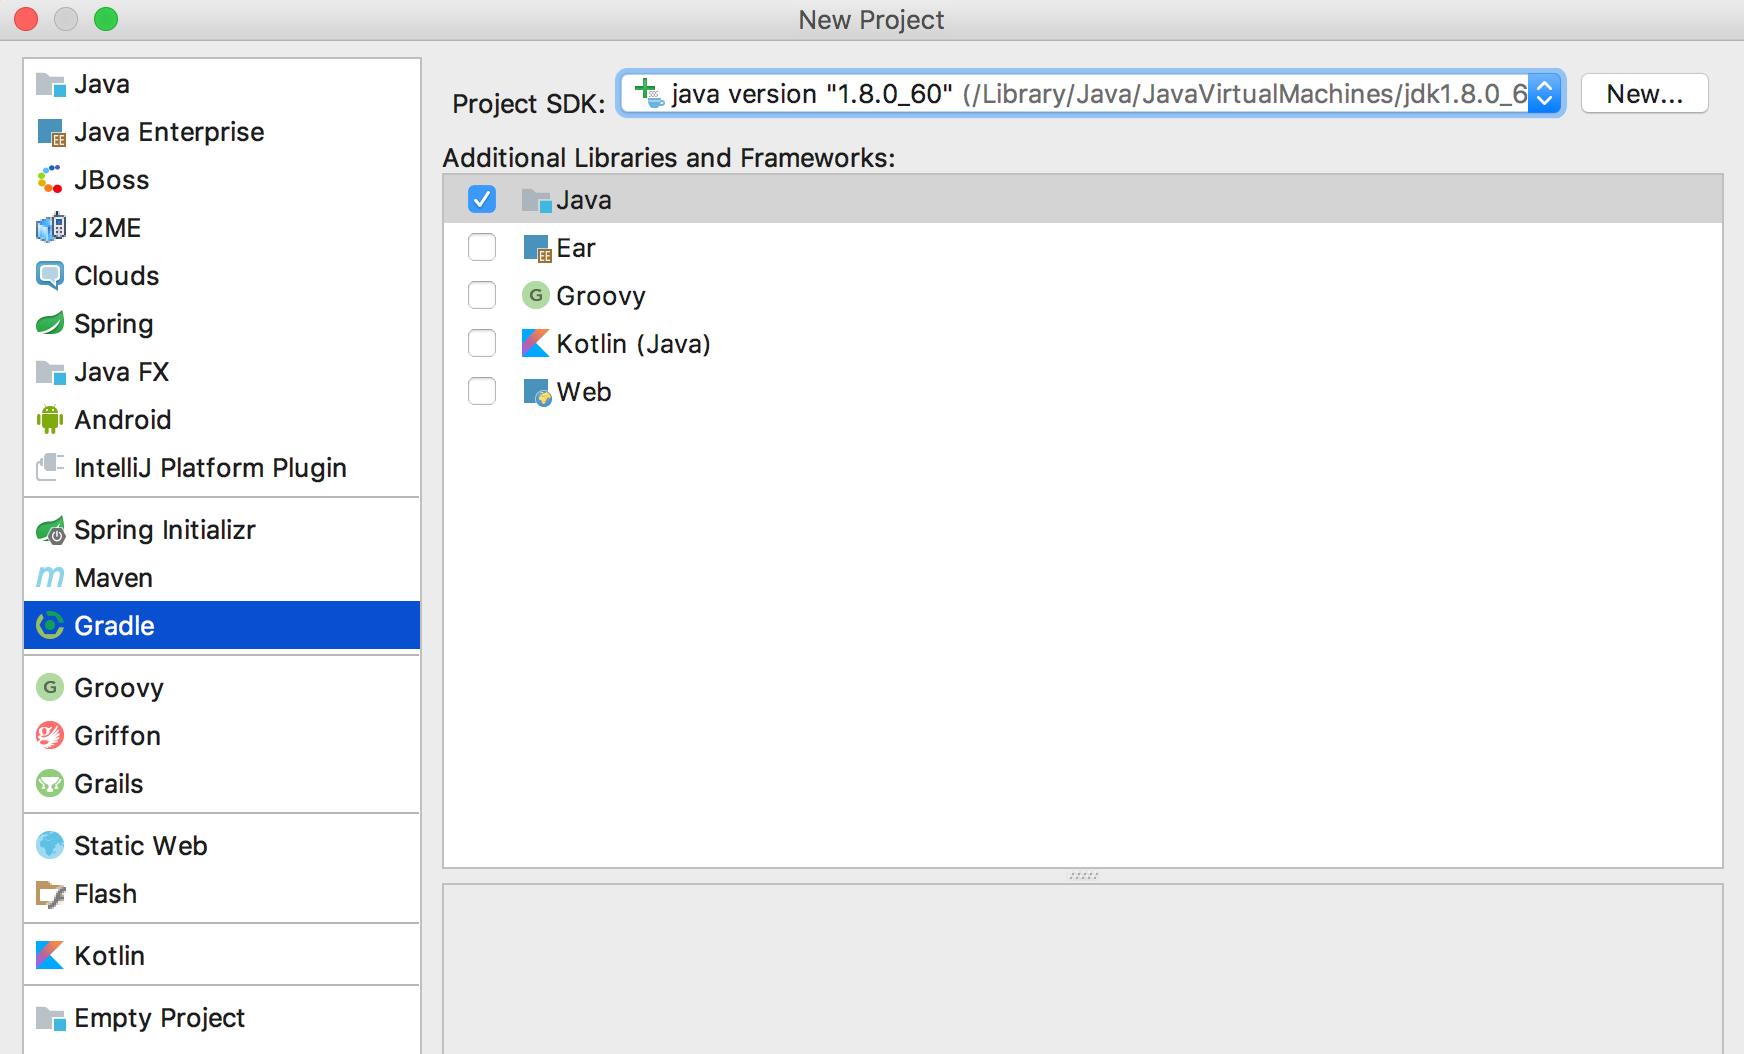
The second method to add Gradle support is by creating a new project from scratch in IntelliJ IDEA and copying over any existing sources. This may be the preferred option in case Gradle is not able to convert an existing project. To do so, create a new project in IntelliJ IDEA by opening File | New... | Project, and select Gradle from the dialog box:
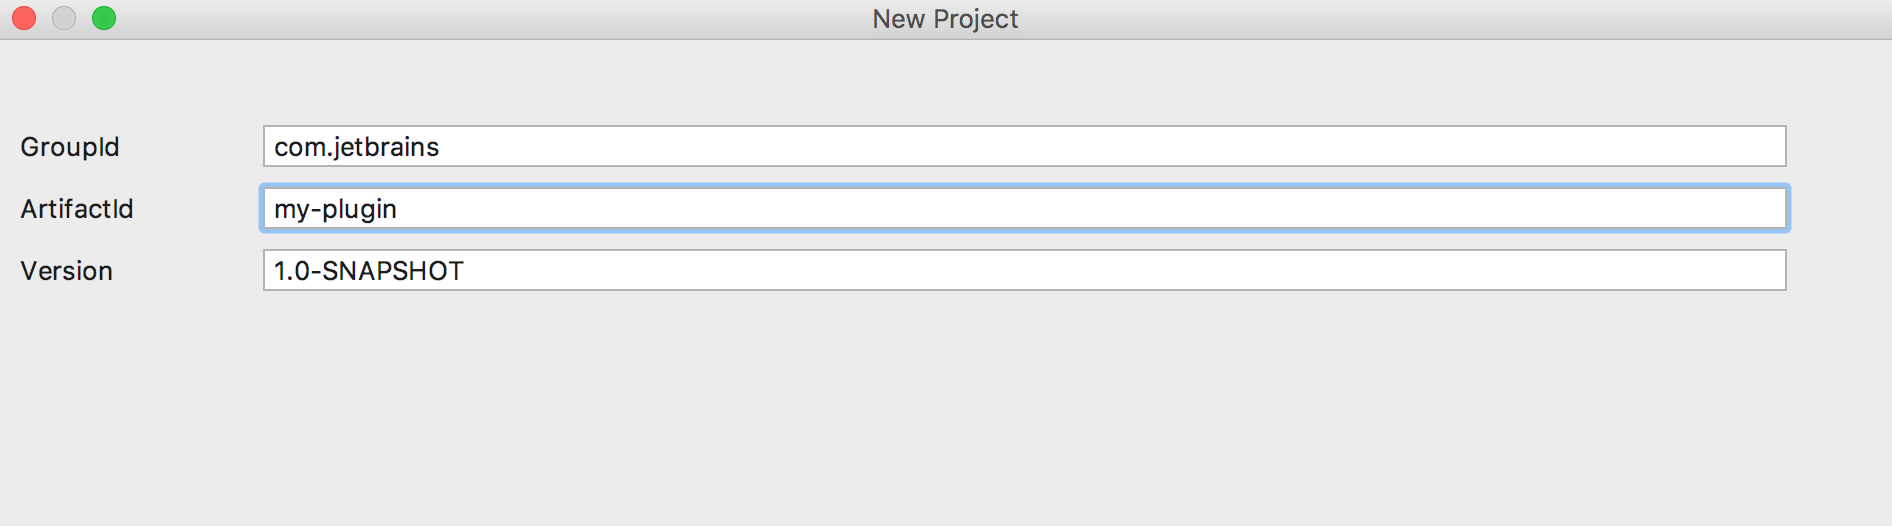
The Project Creation Wizard will now guide you through the Gradle project creation process. You will need to specify a Group ID, Artifact ID, and Version:
On the next screen, check Create directories for empty content roots automatically.
It’s recommended to select the Use default gradle wrapper option, that way IntelliJ IDEA will install everything you need to run Gradle tasks itself.
Finally, specify a JVM Gradle will use, it can be the Project JDK. You also configure this path once the project is created via Settings | Build, Execution, Deployment | Build Tools | Gradle.

Now, add the following script to your build.gradle file, overwriting any existing contents.
{% include /code_samples/gradle_plugin_demo/build.gradle %}
1.4. Running a simple plugin
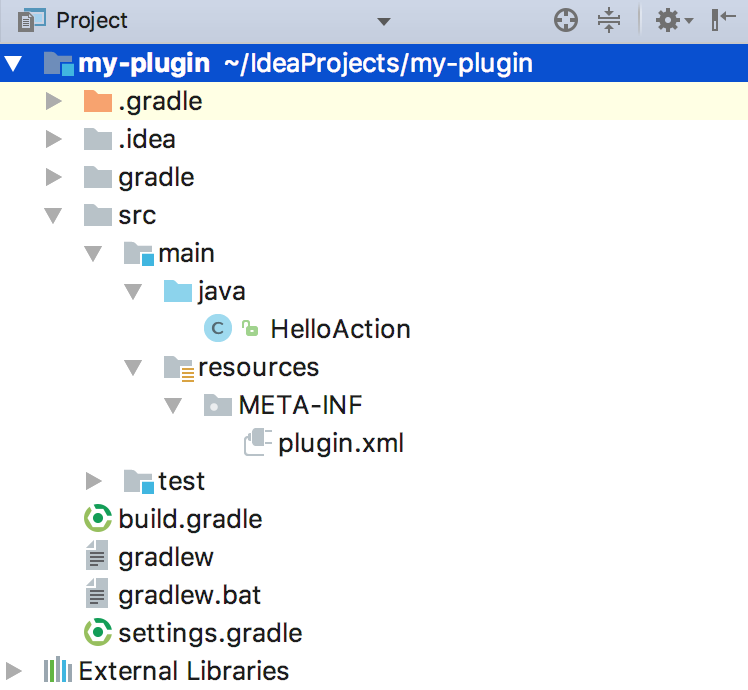
Now add a new HelloAction class and plugin.xml in the META-INF folder:
{% include /code_samples/gradle_plugin_demo/src/main/java/HelloAction.java %}
{% include /code_samples/gradle_plugin_demo/src/main/resources/META-INF/plugin.xml %}
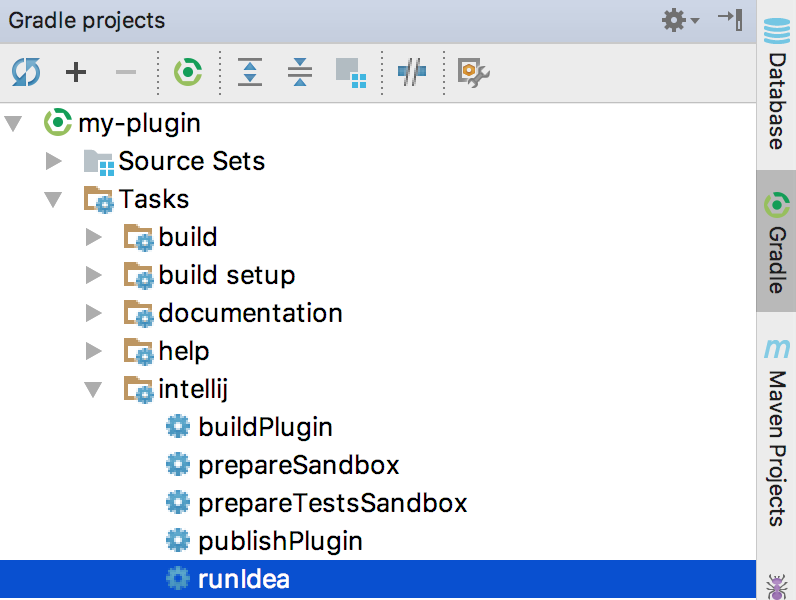
Open the Gradle tool window and search for runIdea task. If it’s not in the list, please hit Refresh button on the top. Double-click on it to run it.
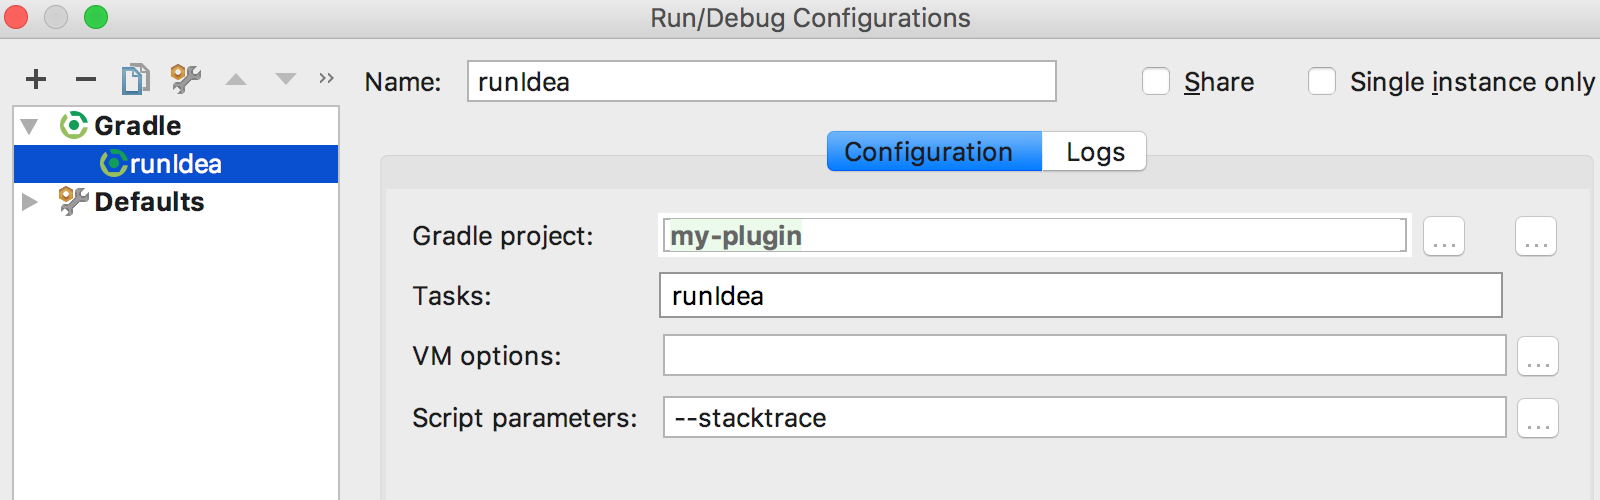
Or add a new Gradle Run Configuration, configured like so:
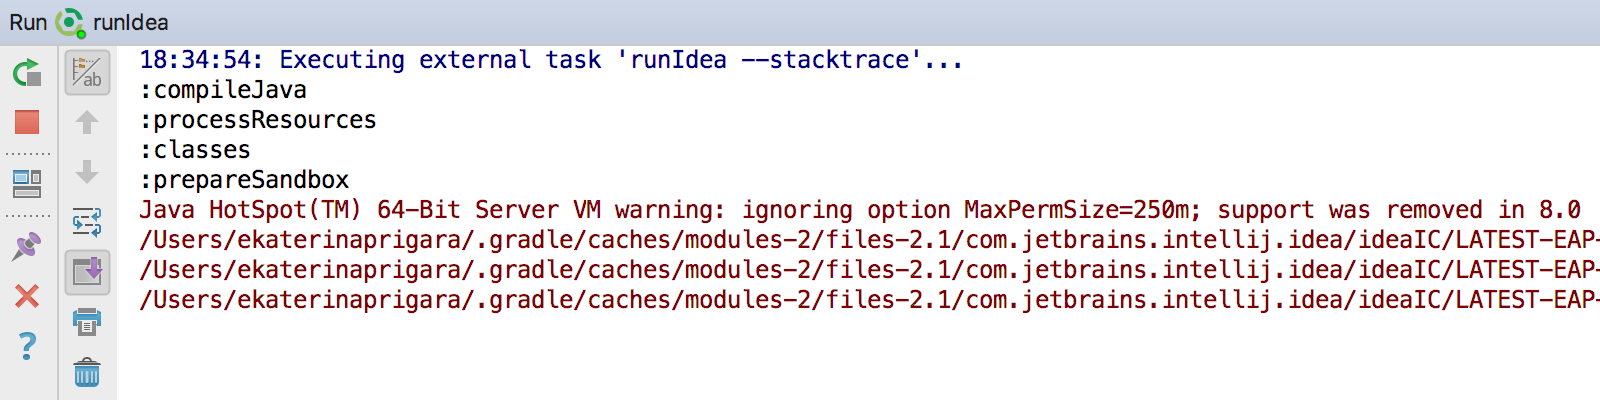
Launch the new Gradle Run Configuration. From the Run Window, the following output should be visible.
Finally, when the IDE launches, there should be a new menu to the right of the Help menu. Your plugin is now configured on Gradle.