This tutorial shows how to add a extra-step to the Project Wizard in order to provide additional project configuration settings.
Pre-requirements
Create an empty plugin project. See Creating a Plugin Project to know how to do it.
1. Register Module Builder
Project configuration settings depend on the project's module type.
Register a new moduleBuilder extension point in the plugin.xml configuration file.
  <extensions defaultExtensionNs="com.intellij">
      <moduleBuilder builderClass="org.jetbrains.tutorials.project.wizard.DemoModuleWizardStep" id="DEMO_STEP" order="first"/>
  </extensions>
2. Create a Custom Module Builder
Extend ModuleBuilder class to provide custom configuration.
public class DemoModuleWizardStep extends ModuleBuilder {
    public void setupRootModel(ModifiableRootModel modifiableRootModel) throws ConfigurationException {

    }

    public ModuleType getModuleType() {
        return null;
    }
}
3. Define Module Type
Set a module type you want to provide an extra wizard step for. In this example we choose an empty module type.
public class DemoModuleWizardStep extends ModuleBuilder {
    public void setupRootModel(ModifiableRootModel modifiableRootModel) throws ConfigurationException {

    }

    public ModuleType getModuleType() {
        return ModuleType.EMPTY; //or it could be any other module type
    }
}
4. Design and Implement Wizard Steps
Provide an implementation of a custom UI component to be added to the Wizard. In this case we leave it as a label.
public class DemoModuleWizardStep extends ModuleBuilder {
    public void setupRootModel(ModifiableRootModel modifiableRootModel) throws ConfigurationException {

    }

    public ModuleType getModuleType() {
        return ModuleType.EMPTY;
    }

    @Override
    public ModuleWizardStep[] createWizardSteps(@NotNull WizardContext wizardContext, @NotNull ModulesProvider modulesProvider) {
        return new ModuleWizardStep[]{new ModuleWizardStep() {
            @Override
            public JComponent getComponent() {
                  return new JLabel("Put your content here");
            }

            @Override
            public void updateDataModel() {

            }
        }};
    }
}
5. Checking UI Appearance
After compiling and running the plugin create a new project using a source-compiled instance of IntelliJ IDEA.
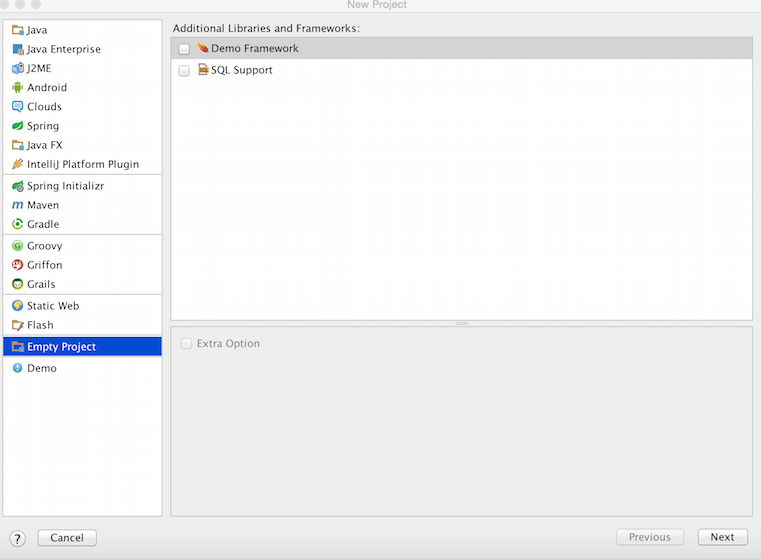
Choose an Empty Module type, click next, and you get to the just added extra step.
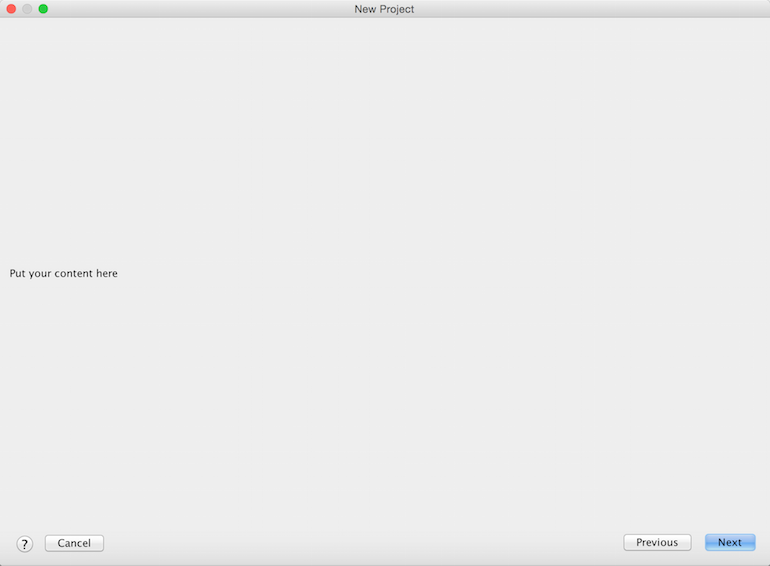
Modify and tune the UI component depending on your requirements.